Entertainment
Excellence in Motion: How to Produce Professional Video Ads That Stand Out

In the fast-paced world of digital marketing, video advertising has emerged as a powerful tool for brands to connect with their audiences dynamically and engagingly. The ability of video ads to convey emotion, tell compelling stories, and capture attention has made them a cornerstone of successful marketing campaigns. However, producing professional video ads that truly stand out requires a strategic approach and a keen understanding of various elements such as storytelling, visuals, sound, technology, and distribution. In this article, we will delve into the essential strategies and techniques to help you create high-quality video ads that resonate with viewers and drive results.
1. Understanding the Power of Video Ads
Video isn’t just a fad like low-rise jeans or fidget spinners. It’s a heavyweight champ in the marketing ring, capturing attention and driving engagement like a boss.
Videos have the magical ability to charm even the most skeptical of audiences. They can convey emotions, tell stories, and showcase products with flair, making them a top choice for marketers looking to stand out in a sea of thumb-stopping content.
2. Crafting a Compelling Concept and Storyline
Identifying Your Target Audience and Goals
Sure, your mom might love your video ad, but will your target audience? Understanding who you’re trying to reach and what you want to achieve is like the compass that guides your creative ship through the stormy seas of ad-making.
Forget cookie-cutter narratives. Your video ad should be like that quirky uncle at family gatherings – memorable, entertaining, and leaving everyone wondering, “What just happened?
3. Mastering Visual and Audio Elements
Captivating Visual Techniques for Engagement
From eye-catching graphics to smooth camera movements, visuals can make or break your video ad faster than you can say “lights, camera, action!” So, grab attention like a toddler grabs candy – with gusto!
Creating an Impactful Sound Design
Audio isn’t just background noise; it’s the secret sauce that adds flavor to your video ad. Whether it’s a catchy jingle or the sound of a thousand screaming monkeys (okay, maybe not that), a killer sound design can elevate your ad from meh to magnificent.
4. Leveraging Technology and Tools for Production
Utilizing Professional Cameras and Equipment
Gone are the days of shaky smartphone videos (unless that’s your aesthetic – no judgment). Investing in professional cameras and equipment can take your video quality from amateur hour to Hollywood blockbusters (well, almost).
Editing Software and Techniques for Polished Results
Editing is where the magic happens – it’s like the cherry on top of your video ad sundae. With the right video editing tool and techniques, you can trim the fat, add sparkle, and turn your raw footage into a polished gem that shines brighter than a disco ball.
5. Optimizing for Different Platforms and Audiences
Adapting Content for Various Social Media Channels
Creating video ads is like picking the perfect outfit for different occasions – you wouldn’t wear a tuxedo to a beach party (unless you’re James Bond). Tailoring your video content for platforms like Instagram, TikTok, or LinkedIn ensures you speak the language of each audience. Keep it snappy for TikTok, professional for LinkedIn, and visually stunning for Instagram. Remember, it’s all about fitting in while standing out.
Catering to Specific Demographics and Preferences
Just like how you wouldn’t serve steak at a vegan dinner party, knowing your audience is key to creating impactful video ads. Understand the demographics and preferences of your target viewers. Are they tech-savvy Gen Zers or seasoned professionals? Do they prefer quick and quirky content or in-depth explanations? By aligning your content with their tastes, you’ll have them hitting replay instead of the skip button.
6. Implementing Effective Distribution Strategies
Choosing where to showcase your video ad is crucial. It’s like deciding where to show off your award-winning dance moves – a library might not appreciate them as much as a dance floor. Identify the platforms where your target audience spends their time. Whether it’s YouTube, Facebook, or even emerging platforms like Twitch, pick the stage where your ad can shine brightest.
Utilizing Paid and Organic Promotion Tactics
Sometimes, you need a little extra push to get noticed – just like how a cat nudges a toy mouse under the furniture for a more exciting chase. Utilize a mix of paid promotion, like targeted ads and influencer collaborations, and organic strategies such as posting on your company’s social media accounts or leveraging user-generated content. This two-pronged approach ensures your video ad reaches both curious onlookers and raving fans.
7. Measuring Success and Iterating for Improvement
Measuring the success of your video ad campaign is crucial – it’s like checking the reviews after hosting a killer party. Keep an eye on metrics like views, engagement rates, conversion rates, and click-through rates. These numbers provide insights into what’s working and what needs tweaking. Don’t let these metrics intimidate you; they’re like breadcrumbs leading to a better-performing ad.
Feedback is like a compass guiding you through uncharted waters – invaluable and essential for growth. Listen to what your audience is saying about your video ads. Whether it’s through comments, reviews, or direct messages, feedback helps you understand what resonates and what falls flat. Use this information to tweak your content, test new ideas, and continuously improve. Remember, even the Mona Lisa needed a few touch-ups to become a masterpiece.In conclusion, mastering the art of producing professional video ads that stand out is a blend of creativity, technical expertise, and strategic thinking. By implementing the insights and best practices outlined in this article, you can elevate your video advertising game and make a lasting impact on your target audience. Remember, continuous improvement, experimentation, and staying attuned to the ever-evolving landscape of video marketing are key to achieving excellence in motion and driving success for your brand.
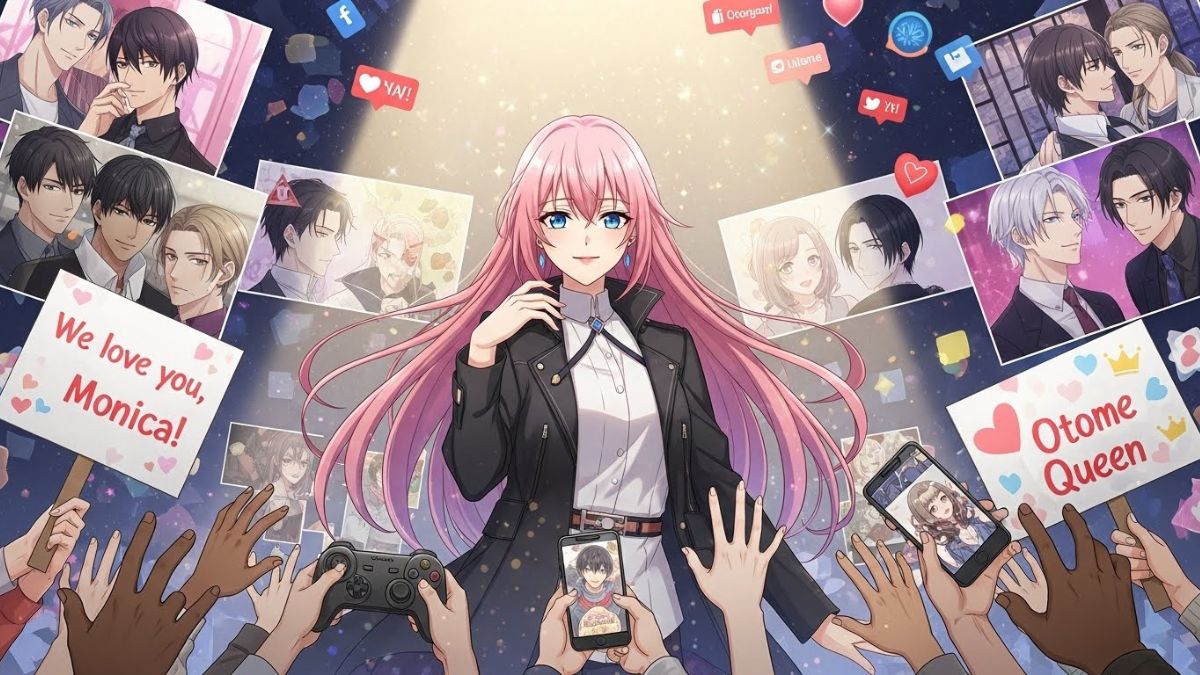
Otome games have captured the hearts of gamers worldwide, offering immersive storytelling and captivating characters. Among the many talented creators in this genre, Monica Julien shines brightly like a rising star. With her innovative approach to game design and deep understanding of player desires, she has redefined what it means to experience love stories through interactive gameplay. As players navigate choices that lead to unique relationship outcomes, they find themselves drawn into enchanting worlds crafted by Monica’s imagination. Join us as we explore her journey, the evolution of otome games, and how her creations are making waves in the fan community.
The History and Evolution of Otome Games
Otome games originated in Japan during the late 1990s. These narrative-driven games primarily target a female audience, allowing players to step into the shoes of a heroine surrounded by potential love interests.
Initially released on handheld consoles, early otome games featured simple graphics and text-based storytelling. As technology advanced, so did their complexity. With full voice acting and intricate character designs, these games became immersive experiences.
The genre gained popularity with titles like “Angelique” and “Tokimeki Memorial Girl’s Side.” Each release pushed boundaries further, showcasing deeper narratives and more diverse characters.
As globalization took hold in gaming, otome games crossed international borders. They found new audiences eager for romance intertwined with compelling storylines.
Today’s market boasts a myriad of options—from mobile apps to indie releases—signifying the genre’s evolution from niche to mainstream appeal.
Monica Julien’s Journey as an Otome Game Creator
Monica Julien’s journey as an otome game creator is nothing short of inspiring. Starting from a passion for storytelling, she quickly immersed herself in the vibrant world of interactive narratives.
Her early works showcased her talent for crafting relatable characters and engaging plots. This dedication set her apart in a competitive market.
As Monica gained traction, fans eagerly anticipated each new release. Her games often featured complex relationships that resonated deeply with players.
Pushing boundaries, she introduced innovative gameplay mechanics that enhanced emotional connections. Fans were captivated by their choices influencing character arcs and endings.
Through social media, Monica fostered a strong community around her creations. Engaging directly with enthusiasts, she valued their feedback and incorporated it into future projects.
This connection solidified her status as a beloved figure within the otome genre while paving the way for other aspiring creators to follow suit.
The Impact of Monica Julien’s Games on Fans
Monica Julien’s games have carved out a special place in the hearts of fans. Her narratives captivate players, offering rich emotional experiences that resonate deeply. Each character feels real, drawing players into their worlds.
Fans often share how Monica’s storytelling has changed their perspectives on love and relationships. They find solace in her characters’ struggles and triumphs, fostering connections that extend beyond the screen.
Moreover, social media buzzes with discussions about plot twists or favorite love interests. This community engagement enhances the gaming experience, making it more immersive and collaborative.
Through interactive storytelling, Monica cultivates a sense of belonging among fans. Many feel empowered to express themselves creatively through fan art and fiction inspired by her work.
Her influence extends beyond entertainment; she inspires personal reflection and growth within her audience. With every new release, excitement builds as fans eagerly await what journeys lie ahead.
The Representation of Diversity in Monica Julien’s Games
Monica Julien has carved a niche for herself in the otome game landscape by prioritizing diversity. Her characters reflect a rich tapestry of backgrounds, cultures, and experiences. This representation resonates deeply with players who often seek to see themselves in the stories they engage with.
Julien’s games feature protagonists and love interests from various ethnicities, orientations, and walks of life. This inclusivity creates an authentic sense of connection among fans. Players appreciate the nuanced storytelling that emerges when diverse voices are at play.
Moreover, Monica’s commitment to showcasing real-world issues through her narratives adds depth to her creations. By addressing themes such as identity and belonging, she invites players into meaningful discussions about their own lives.
Fans have responded positively to this approach, feeling valued and recognized within these interactive worlds. The impact is profound—players are not just participants but also advocates for more diverse representations across gaming platforms.
The Future of Otome Games with Monica Julien’s Influence
Monica Julien’s influence is shaping the future of otome games. Her innovative approach brings fresh narratives and engaging characters to life.
Fans eagerly anticipate her next releases, which promise deeper storytelling and diverse representation. This evolution invites a broader audience into the genre, breaking traditional boundaries.
The rise of technology also plays a crucial role in this transformation. With advancements in graphics and interactive gameplay, Monica’s creations are more immersive than ever before. Players can expect richly detailed worlds where their choices truly matter.
Moreover, collaborations with other creatives may expand the horizons even further. The blending of genres could introduce new mechanics that enhance player experiences.
As Monica continues to push creative limits, she sets a precedent for upcoming developers in the otome space. Her vision might lead us toward unexpected themes and compelling character arcs that resonate more profoundly with fans around the globe.
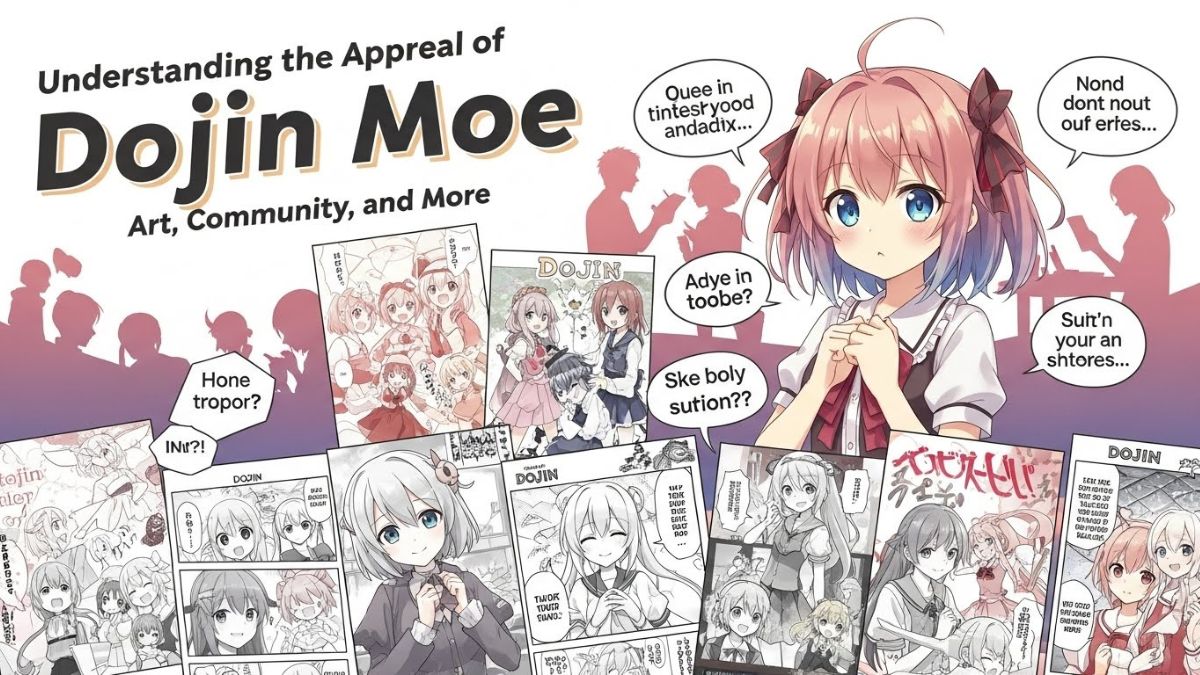
Dojan moe has taken the internet by storm, capturing the hearts of many with its unique blend of art and community. But what exactly is dojen moe? This captivating subculture is more than just a visual feast; it’s an exciting world that offers connection, creativity, and expression to those who dive in. Whether you’re an artist, a fan, or simply curious about this phenomenon, there’s much to explore within dojen moe. Let’s unravel its essence and discover why so many are drawn into this vibrant realm!
What is dojen moe?
Dojen moe is a niche subculture that thrives on the internet, blending elements of anime and manga with an intense focus on cute characters. It emphasizes a certain aesthetic that captures the hearts of its followers.
At its core, dojen moe revolves around creating and sharing art featuring adorable characters in various scenarios. These creations often reflect emotions like joy, innocence, or whimsy. The charm lies in their exaggerated features—big eyes, small faces—and expressive poses that evoke strong feelings.
This phenomenon isn’t just about visual appeal; it’s also deeply rooted in community interaction. Fans engage through fan art, discussions, and social media platforms to share their love for this unique style. As more people discover dojen moes, it continues to evolve while retaining its endearing qualities that first drew enthusiasts into its vibrant world.
The Art and Aesthetic of dojen moe
Dojen moe is a captivating blend of visual storytelling and character design. It thrives on vibrant colors, exaggerated features, and endearing expressions that draw viewers into its whimsical universe. The art style often embraces a playful innocence, creating a sense of nostalgia for simpler times.
This aesthetic resonates deeply within fans who appreciate the craftsmanship behind each piece. Artists invest time in detailing emotions through facial expressions and poses. Each artwork tells a story that invites interpretation.
The unique appeal lies in its ability to bridge gaps between various cultures. From manga-inspired illustrations to digital creations, dojen moe transcends boundaries while celebrating individuality. This fusion creates an inviting atmosphere where creativity flourishes.
Art galleries dedicated to dojen moes have emerged globally, showcasing talented creators and their imaginative worlds. These platforms not only highlight artistic expression but also foster connections among like-minded enthusiasts who share this passion for vibrant artistry.
Building a Community through dojen moe
Dojen moe thrives on community engagement. Fans come together to share their love for this unique art form, creating spaces where creativity flourishes.
Online platforms play a pivotal role. Social media groups, forums, and dedicated websites allow enthusiasts to exchange ideas and artwork. This fosters collaboration among artists and fans alike.
Events like conventions or local meet-ups further strengthen these bonds. Participants can showcase their creations, discuss techniques, and connect with like-minded individuals who share the same passion.
Through dojen moes culture, friendships blossom across borders. The sense of belonging transcends geographical limitations. People unite over shared interests in aesthetics and storytelling.
This vibrant community provides support too—offering encouragement during creative slumps or advice for newcomers navigating the intricate world of dojen moe artistry. Each interaction deepens connections while celebrating individual expressions within the collective spirit.
Benefits of Engaging in dojen moe Culture
Engaging in dojen moe culture offers a multitude of benefits for enthusiasts. For many, it serves as a creative outlet. Artists can express themselves through vibrant illustrations and storytelling, allowing their imaginations to flourish.
Community connection is another significant advantage. Fans come together on platforms like Discord and Instagram, sharing artwork and discussing their favorite characters. This sense of belonging fosters friendships that often extend beyond the digital realm.
Moreover, dojen moe encourages collaboration among artists. Many engage in projects or events where they can showcase their talents collectively. These experiences not only enhance skills but also promote camaraderie within the community.
Additionally, immersing oneself in this culture provides an escape from everyday life. The whimsical nature of dojen moes brings joy and nostalgia, offering fans a comforting retreat into imaginative worlds filled with charm and warmth.
Criticisms and Controversies Surrounding dojen moe
Dojen moe has not been without its share of criticisms. Detractors argue that the art style can perpetuate unrealistic standards, particularly regarding character design. Some feel it promotes a narrow view of beauty that doesn’t reflect diversity.
Additionally, there are concerns about the themes often explored within dojen moe works. Critics point out that certain narratives may trivialize serious issues or present them in a way that’s overly simplistic.
The community itself is also polarizing. While many foster inclusivity and creativity, others face backlash for gatekeeping or bullying newcomers who don’t grasp nuanced elements of this subculture.
Another significant issue revolves around copyright infringement and the ethical implications of fan art versus original creations. This tension highlights ongoing debates within creative spaces about respect for intellectual property rights while encouraging artistic expression.
Conclusion:
Dojan moe captivates many with its unique blend of art and community. The aesthetic appeals to those who appreciate both the visual elements and the emotional connections formed within this culture. Engaging with dojen moe offers individuals a sense of belonging, creativity, and expression that can be hard to find elsewhere.
While criticisms exist regarding aspects of dojen moes, it remains a thriving subculture. Its ability to foster connection among enthusiasts highlights its significance in today’s digital landscape. Whether you are an artist or simply someone looking for new experiences, delving into dojen moe could enrich your life.
As more people explore this vibrant world, the dialogue around it will continue to evolve. The future holds exciting possibilities as dojen moe grows and adapts within various contexts. Embracing these changes might lead not only to deeper understanding but also newfound appreciation for this fascinating cultural phenomenon.
In the ever-evolving world of digital platforms, hdhubfu has emerged as a notable player. If you’ve been searching for an efficient way to access various forms of entertainment, this platform might just be what you need. From streaming your favorite movies and TV shows to discovering hidden gems, hdhubfu offers something for everyone. But what is it that makes this platform stand out from the crowd? Let’s dive deep into the features, history, and unique offerings that have made hdhubfus a popular choice among users worldwide. Whether you’re a seasoned user or new to the scene, there’s plenty to learn about this intriguing hub of content!
What Makes hdhubfu Unique?
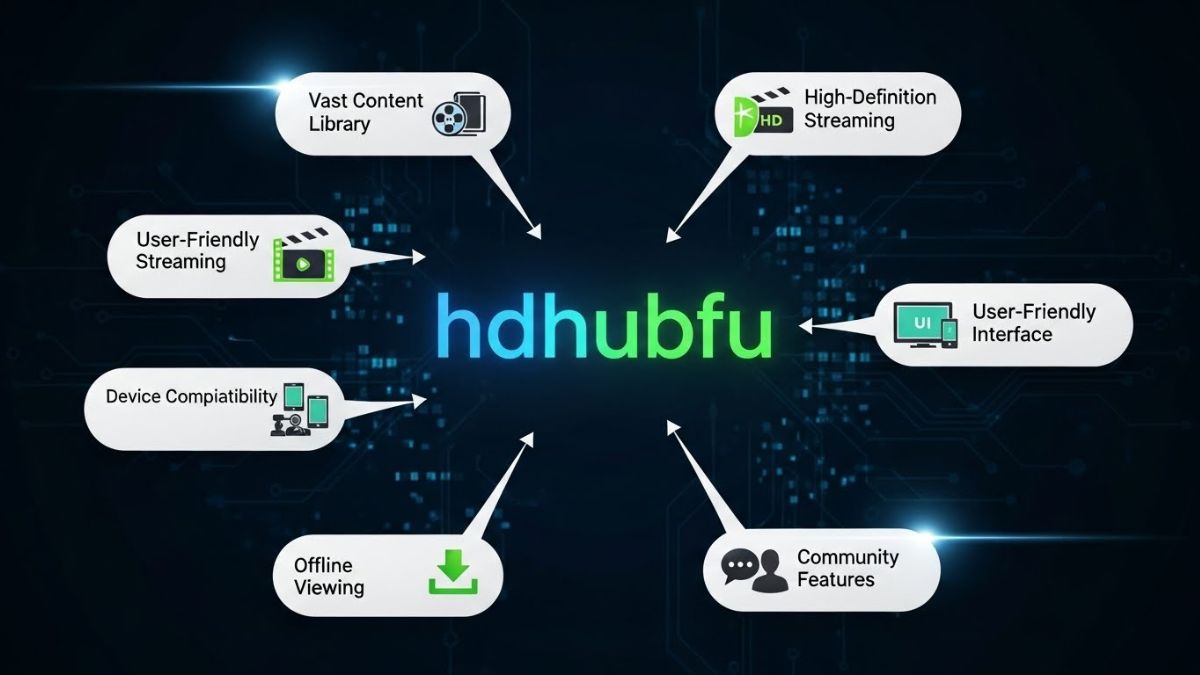
Hdhubfu stands out in the crowded digital landscape due to its user-centric design and extensive content library. The platform caters to a diverse audience, offering everything from movies and TV shows to documentaries and indie films.
One of its unique features is the seamless streaming experience. Users can enjoy high-quality content without annoying interruptions or buffering issues. This reliability keeps viewers coming back for more.
Additionally, hdhubfu’s algorithm tailors recommendations based on individual viewing habits. This personalized touch enhances user engagement by ensuring that everyone finds something appealing.
Moreover, the community aspect cannot be overlooked. Hdhubfus fosters interaction among users through forums and discussion boards, allowing fans to connect over their favorite titles.
With consistent updates and fresh content added regularly, hdhubfu remains relevant and exciting for both new users and loyal fans alike.
The History of hdhubfu
hdhubfu emerged in the digital landscape during a time when streaming platforms were gaining massive popularity. It started as a small project, aimed at providing users with access to diverse media content.
As demand grew, so did its features and offerings. The platform quickly adapted to user needs, incorporating various genres and formats. This evolution helped hdhubfu carve out a niche for itself amidst fierce competition.
Throughout its journey, hdhubfu has faced challenges but always managed to stay ahead of trends. Its commitment to quality content set it apart from others in the market.
The community around hdhubfu expanded rapidly, driven by word-of-mouth recommendations and social media buzz. Users found value not just in what the platform offered but also in how it engaged with them actively.
Today, hdhubfu stands as a testament to innovation within the streaming industry and continues evolving alongside new technologies and viewer preferences.
Features and Services Offered by hdhubfu
hdhubfu stands out for its diverse range of features and services. The platform offers an extensive library of movies and TV shows across various genres, catering to different tastes.
User-friendly navigation enhances the experience. With intuitive search options and personalized recommendations, finding content becomes effortless.
Additionally, hdhubfu supports high-definition streaming. This ensures viewers enjoy sharp visuals and crystal-clear audio quality during their viewing sessions.
Another notable feature is the availability of subtitles in multiple languages. This accessibility widens its audience reach globally.
Moreover, regular updates keep content fresh and relevant. Users can expect new releases alongside classic favorites.
Community engagement plays a crucial role too. By allowing users to share reviews and ratings, hdhubfu fosters a sense of belonging among film enthusiasts.
These features collectively create a rich ecosystem that keeps users returning for more captivating entertainment experiences.
How to Use hdhubfu: A Step-by-Step Guide
To get started with hdhubfu, first, visit the official website. The interface is user-friendly and intuitive.
Next, create an account. This process usually requires just a few basic details like your email address and a password. Once registered, make sure to confirm your email for full access.
After logging in, explore the content library. Hdhubfu offers various categories ranging from movies to TV shows. Use filters to find what you’re looking for quickly.
When you’ve found something intriguing, click on it for more information. There you’ll see options for streaming or downloading the content.
If you’re interested in sharing feedback or reviews, look out for that option after watching anything. It helps improve the platform while engaging with fellow users.
Keep an eye on updates and new releases so you never miss out on trending content!
Frequently Asked Questions about hdhubfu
Many users have questions about hdhubfu. Here are some common inquiries.
What types of content can I find on hdhubfu? The platform offers a vast library, including movies and TV shows across various genres. Users appreciate the diverse selection available at their fingertips.
Is hdhubfu free to use? Yes, most features are accessible without cost. However, premium options may provide enhanced services for those seeking additional benefits.
How do I create an account on hdhubfu? Signing up is straightforward. Just visit the official site and follow the prompts to register your details securely.
Can I access hdhubfu on multiple devices? Absolutely! Whether you’re using a smartphone or a smart TV, you can enjoy seamless streaming regardless of where you are.
Are there any ads while using hdhubfu? Users report that ad interruptions can vary based on subscription plans, with premium members experiencing fewer disruptions during viewing sessions.
Why People Love Using hdhubfu
People are drawn to hdhubfu for its vast content library. Users find a treasure trove of movies and shows across various genres. There’s something for everyone, whether you’re into thrillers, comedies, or documentaries.
Another reason behind its popularity is the user-friendly interface. Navigating through the platform feels seamless. With just a few clicks, users can discover new titles without any hassle.
Moreover, hdhubfu often updates its offerings. This constant refresh keeps viewers engaged and excited about what’s next.
Community interaction also plays a role in its appeal. Fans frequently share recommendations and reviews, creating an engaging atmosphere that enhances the viewing experience.
Affordability cannot be overlooked. Many appreciate that they can access quality entertainment without breaking the bank. This combination of features makes hdhubfu a beloved choice among streaming enthusiasts.
Conclusion
The world of digital platforms is vast and ever-evolving. hdhubfu has carved out a unique niche, capturing the attention of users globally. With an array of features, a rich history, and a user-friendly interface, it’s no wonder that people flock to this platform.
Whether you’re exploring its offerings for entertainment or utilizing its services to connect with others, hdhubfu continues to grow in popularity. The community surrounding it thrives on engagement and shared interests. It successfully blends functionality with enjoyment in ways that resonate deeply with its audience.
As you consider diving into all that hdhubfu has to offer, rest assured you’re joining millions who appreciate what makes this platform stand out from the crowd. Enjoy your journey through this digital landscape; there’s much more waiting for you here than meets the eye!
-

 HEALTH2 years ago
Transformative Health Solutions: Unveiling the Breakthroughs of 10x Health
-

 Posts3 years ago
Siegel, Cooper & Co.
-

 GENERAL2 years ago
Discovering the Artistic Brilliance of Derpixon: A Deep Dive into their Animation and Illustration
-

 Lifestyle3 years ago
Purenudism.com: Unveiling the Beauty of Naturist Lifestyle
-

 FASHION3 years ago
The Many Faces of “λιβαισ”: A Comprehensive Guide to its Symbolism in Different Cultures
-

 Lifestyle2 years ago
BaddieHub: Unleashing Confidence and Style in the Ultimate Gathering Spot for the Baddie Lifestyle
-

 Home improvement2 years ago
Unleash Your Creative Side: Exploring Stylish Rug Collections to Elevate Your Space with Quality Rug & Carpet Options
-
 Entertainment3 years ago
Geekzilla Podcast: Navigating the World of Pop Culture, Gaming, and Tech